Scriptable Desktop Developer Environment
• 9min read
Although the Scriptable text editor is exceptionally designed for mobile use, it doesn’t scale well to desktop computers. While the app works great for on-the-go development, I prefer using a computer at home to boost my productivity. Luckily, setting up a work environment on Mac computers is not too difficult.
JavaScript Work Environment
Before we get started, you should download the Mac-compatible app for Scriptable, which can be found at the archive link. We will code scripts in our favourite text editors and run them with the Mac app. Sadly, the Mac app does not support accessory widgets, so it cannot be used for all purposes.
Getting Started
Start by creating a folder for the environment and navigating to it in the terminal. We’ll make the folder called scriptable-environment.
mkdir scriptable-environment
cd scriptable-environment
Then, we will create a basic package.json file:
npm init -yWhich will produce something like this:
{
  "name": "scriptable-environment",
  "version": "1.0.0",
  "main": "index.js",
  "scripts": {
    "test": "echo \"Error: no test specified\" && exit 1"
  },
  "keywords": [],
  "author": "",
  "license": "ISC",
  "description": ""
}
Adding Autocomplete
Next, we’ll make a jsconfig.json file. The lib property defines what version of JavaScript is being used. The moduleDetection property ensures that no files are treated as global, so scripts should not affect each other.
{
"compilerOptions": {
"lib": ["ES2022"],
"moduleDetection": "force"
}
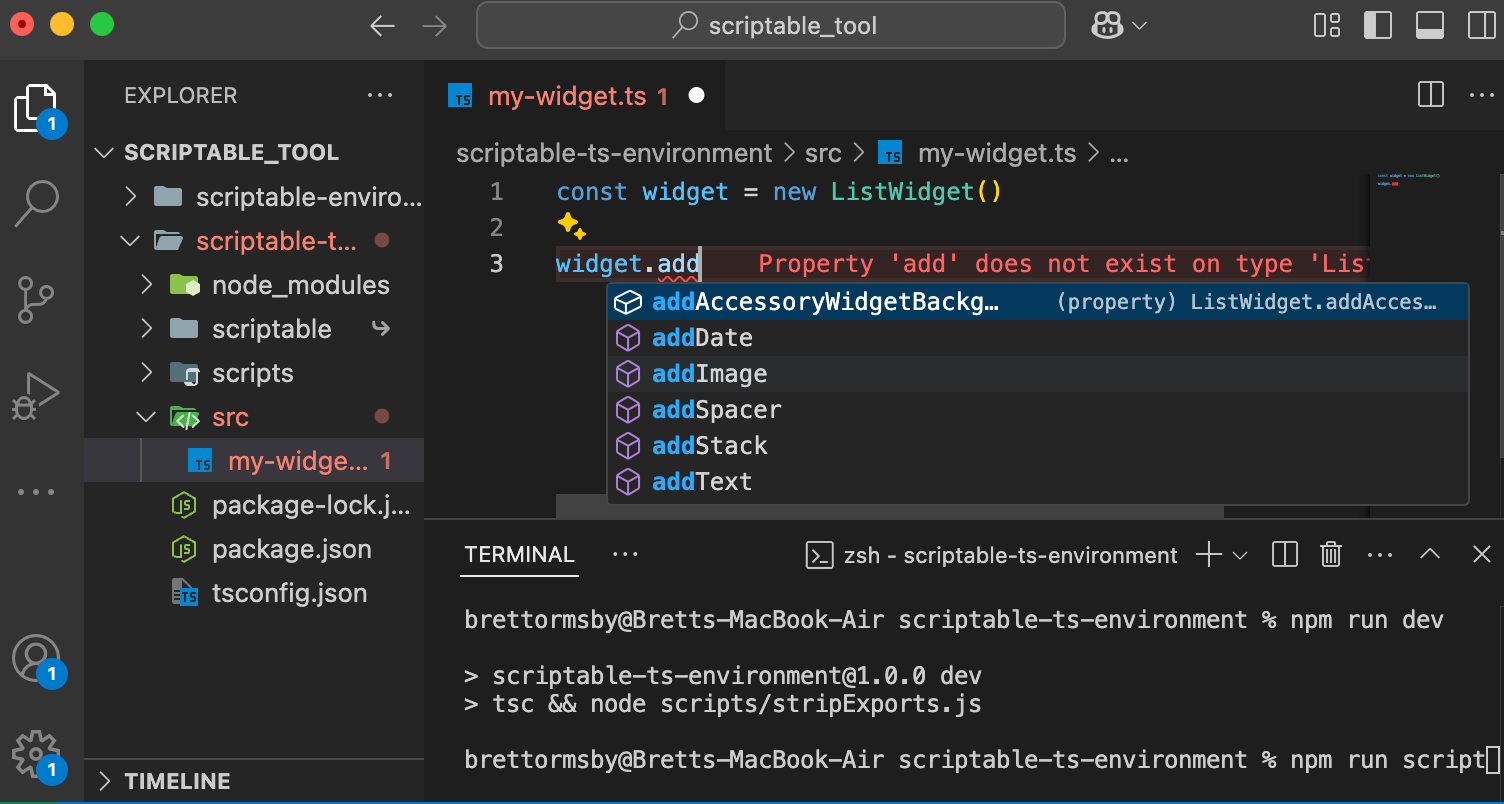
}To set up autocomplete, we will install some types using the scriptable-ios package. If you are using VSCode, you can also hover over your code, like a Request, and a small description and link to the documentation will appear. The jsconfig.json that we made previously also helps to set the Scriptable Request and Image types to take priority over native types.
npm install @types/scriptable-ios -DLinking to Scriptable
The final step is to create a symlink from the Scriptable documents to the src folder. You should not have made a src folder before running the command to generate the link.
ln -s ~/Library/Mobile\ Documents/iCloud~dk~simonbs~Scriptable/Documents srcNote: one way to find the path of files on Mac is to drag a file to the terminal and see the result. This was how we found the path to the Scriptable scripts.
Now, whenever you make changes in your text editor, the changes are synced to the Scriptable scripts. The final project structure should be:
scriptable-environment/
├── node_modules/
│   └── ...
├── src/
│   └── ...
├── jsconfig.json
├── package-lock.json
└── package.json
Bonus: Running Scripts from the Command Line
Often in development setups, you can run something like npm run dev to start a program. We can make something similar to run our Scriptable scripts.
First, we will create a folder called scripts at the root of our project. Then create a file called runScript.js. Before we make the script, we need to install the open package, which allows us to open links. Scriptable provides a URL to run scripts similar to scriptable:///run/script-name. Hence, we can use the open package to run our Scriptable scripts from the command line.
npm install open -DThe runScript.js script is straightforward. We grab the first argument passed to the script, remove the file extension, encode the file name, and then try to run the script.
import open from "open";
const args = process.argv;
if (args.length >= 3) {
  const script = args[2];
  const scriptName = script.replace(/\.js$/, "");
  await open("scriptable:///run/" + encodeURIComponent(scriptName));
} else {
  console.error("A Scriptable script must be provided as an argument.");
}
Now, we can update the package.json with some script shortcuts. We’ll also specify type: "module" to avoid console warnings.
{
  ...
  "type": "module",
  "scripts": {
    "script": "node scripts/runScript.js \"script-name.js\"",
    "s": "node scripts/runScript.js"
  },
  ...
}
You can name the script shortcuts however you like or update them to your needs. The first option, npm run script, will run a specific script. If you are primarily focused on one script, you can change the name in the command to always run that script. The second option, npm run s script-name.js, allows you to run any script you pass in as the argument. It is more useful if you plan on developing multiple scripts at the same time.
Limitations
If you have the Mac Scriptable app and this developer environment setup, whenever you change your scripts, before running the Scriptable script to see the changes, you will have to exit the script text editor and enter it again. Otherwise, the script would run without the updates. Additionally, if you are using the runScript.js method to open Scriptable and run a script, it only runs on the main screen, so you cannot see the console outputs.
Interestingly, I have found that if you edit a script used in another via
importModule, you can stay in the other script’s text editor view. Then, whenever it is run, the updated code will be imported.
TypeScript Work Environment
Many of the steps to set up a TypeScript work environment will be similar to the JavaScript environment. Once again, if you haven’t downloaded the Mac-compatible Scriptable app, you can find it here.
Getting Started
Start by creating a folder for the environment and navigating to it in the terminal. We’ll make the folder called scriptable-ts-environment.
mkdir scriptable-ts-environment
cd scriptable-ts-environment
Then, we will create a basic package.json file:
npm init -yWhich will produce something like this:
{
  "name": "scriptable-environment",
  "version": "1.0.0",
  "main": "index.js",
  "scripts": {
    "test": "echo \"Error: no test specified\" && exit 1"
  },
  "keywords": [],
  "author": "",
  "license": "ISC",
  "description": ""
}
Configuring TypeScript
Now, we will install TypeScript and Scriptable types:
npm install --save-dev typescript
npm install --save-dev @types/scriptable-ios
Next, we will create a tsconfig.json file. We set module and moduleResolution to Node16, which is not too important considering we can’t use normal imports in Scriptable. However, the purpose of this is to allow top-level awaits. The moduleDetection property ensures that no files are treated as global, so scripts should not affect each other. The target is a more recent version of JavaScript, which Scriptable supports. We set sourceMap to false because we only want the singular JavaScript files compiled. We have yet to set up our roodDir or outDir, but those tell TypeScript what code we are editing and where to output our JavaScript files. Finally, the types and lib properties work together to ensure the Scriptable types, such as Result and Image, take priority over the native types.
{
  "compilerOptions": {
    "module": "Node16",
    "moduleResolution": "node16",
    "esModuleInterop": true,
    "moduleDetection": "force",
    "target": "es2022",
    "sourceMap": false,
    "rootDir": "./src",
    "outDir": "scriptable",
    "types": ["scriptable-ios"],
    "lib": ["es2022"]
  }
}
We also need to update the package.json to allow top-level awaits with the type: "module" option:
{
  ...
  "type": "module",
  ...
}
Linking to Scriptable
The TypeScript scripts we make will be in the src folder. So we can create the directory:
mkdir srcNow, we need to create a symlink to the Scriptable folder so that TypeScript can output the JavaScript files directly to the Scriptable folder. After running the following command, you should see a scriptable folder was created which connects to all your scripts.
ln -s ~/Library/Mobile\ Documents/iCloud~dk~simonbs~Scriptable/Documents scriptableNow, you can make a test script in TypeScript under the src directory.
Compiling TypeScript
Let’s update the package.json with a script to compile the TypeScript:
{
  ...
  "scripts": {
    "dev": "tsc"
  },
  ...
}
Now we can run npm run dev to compile the TypeScript. But there is a problem. If you have a test script in the src directory, then compile the TypeScript. Afterwards, open the script in the Scriptable Mac App to see the changes. You will notice that export {}; was added to the end of the file. If you run the script, it will cause an error. Thus, we need to create a script to strip this line after compiling the TypeScript.
Start by creating a scripts directory:
mkdir scriptsThen, we will make a JavaScript file called stripExports.js. In this script, we will get all the file names from the src directory, filter out those not in TypeScript, and then map them to a Promise that strips the exports. In this async function, we check if the TypeScript file exists as a JavaScript file in the scriptable directory. Then, we read the file, remove the export, and write the updated file.
import { readdir, readFile, writeFile, access } from "fs/promises";
import path from "path";

const srcDir = "./src";
const scriptableDir = "./scriptable";

async function stripExports() {
  const files = await readdir(srcDir);

  const tasks = files
    .filter((file) => file.endsWith(".ts"))
    .map(async (file) => {
      const jsFile = file.replace(/\.ts$/, ".js");
      const scriptableFile = path.join(scriptableDir, jsFile);

      try {
        await access(scriptableFile); // Check if file exists
        const code = await readFile(scriptableFile, "utf8");
        const stripped = code.replace(/export {};\s*$/, "\n");
        await writeFile(scriptableFile, stripped);
      } catch (err) {
        console.warn(`Skipping ${scriptableFile}: ${err.message}`);
      }
    });

  await Promise.all(tasks);
}

stripExports();
We still need to update the package.json to strip the exports when we compile the TypeScript:
{
  ...
  "scripts": {
    "dev": "tsc && node scripts/stripExports.js"
  },
  ...
}
Finally, the TypeScript works as expected. Our file project structure should look like this:
scriptable-ts-environment/
├── node_modules/
│   └── ...
├── scriptable/
│   └── ...
├── scripts/
│   └── stripExports.js
├── src/
│   └── ...
├── package-lock.json
├── package.json
└── tsconfig.json
Bonus: Running Scripts from the Command Line
Like in the JavaScript environment, we can run our Scriptable scripts from the command line.
We’ll start by creating a file called runScript.js in the scripts directory. Before we make the script, we need to install the open package, which allows us to open links. Scriptable provides a URL to run scripts similar to scriptable:///run/script-name. Hence, we can use the open package to run our Scriptable scripts from the command line.
npm install open -DThe runScript.js script is straightforward. We grab the first argument passed to the script, remove the file extension, encode the file name, and then try to run the script.
import open from "open";
const args = process.argv;
if (args.length >= 3) {
  const script = args[2];
  const scriptName = script.replace(/\.js$/, "");
  await open("scriptable:///run/" + encodeURIComponent(scriptName));
} else {
  console.error("A Scriptable script must be provided as an argument.");
}
Now, we can update the package.json with a script shortcut. Unlike in the JavaScript environment, we need to compile the TypeScript before running and strip the exports. When we do this, the Scriptable app will not notice the changes right away, so we add a sleep 0.5 command before running the script.
{
    ...
    "scripts": {
        ...
        "script": "tsc && node scripts/stripExports.js && sleep 0.5 && node scripts/runScript.js \"test.js\""
    },
    ...
}
In this example, whenever we run the npm run script command, we run the test.js Scriptable script.
Limitations
The limitations are mostly the same as in the JavaScript environment. If you have the Mac Scriptable app and this developer environment setup, whenever you change your scripts, before running the Scriptable script to see the changes, you will have to exit the script text editor and enter it again. Otherwise, the script would run without the updates. Additionally, if you are using the runScript.js method to open Scriptable and run a script, it only runs on the main screen, so you cannot see the console outputs. Finally, if you start a new TypeScript file and compile it multiple times, you will notice that the colour (and possibly icon) of the script changes. We can set the icon and colour with a few comments at the top of the TypeScript file. For example, you can go to the scriptable directory and enter one of your scripts and should see something like:
// Variables used by Scriptable.
// These must be at the very top of the file. Do not edit.
// icon-color: red; icon-glyph: file-download;
Conclusion
Now you can use a desktop environment to create Scriptable Scripts in JavaScript or TypeScript and still run them on your computer. I hope this will help in your Scriptable endeavours!